Getting started
This guide takes a fresh Flagsweep instance to a working flag table. It assumes Flagsweep is already running (see Installation) and that you have an Azure App Configuration store.
To try Flagsweep without Azure, start it in sandbox mode instead. Sandbox mode uses in-memory fakes and demo data.
1. Create the first admin account
Open Flagsweep in a browser. A fresh instance redirects you to /setup.
- Enter an Email, a Password (6 characters minimum by default), and Confirm Password.
- Click Create Account.
The first account is always an Admin. The setup page only works once. After that it redirects to the login page, and any further accounts are created by invitation.
2. Create a connection
A connection is one Azure App Configuration store: the flags of one application, with one environment per label. Only admins can create connections.
- Copy a read-write Connection string from your store in the Azure portal (Settings > Access keys). The Connect Azure App Configuration guide explains which key to use.
- Click the + next to Connections in the sidebar (or go to
/new-connection). - Paste the connection string and continue. Flagsweep checks that it can connect and reads the store's labels.
- Enter a Connection name. It is prefilled with the store name.
- On the Environments step, either tick labels under Discovered labels or add Custom environments. Each environment maps to one Azure label; see Connections and environments for the rules.
- Click Create connection.
You land on the connection's Flags page: every flag in the connection, with its state in each environment.
3. Manage your first flag
Flags already in the store appear immediately, one row per flag, with a chip per environment showing where it is on, off, or not set yet.
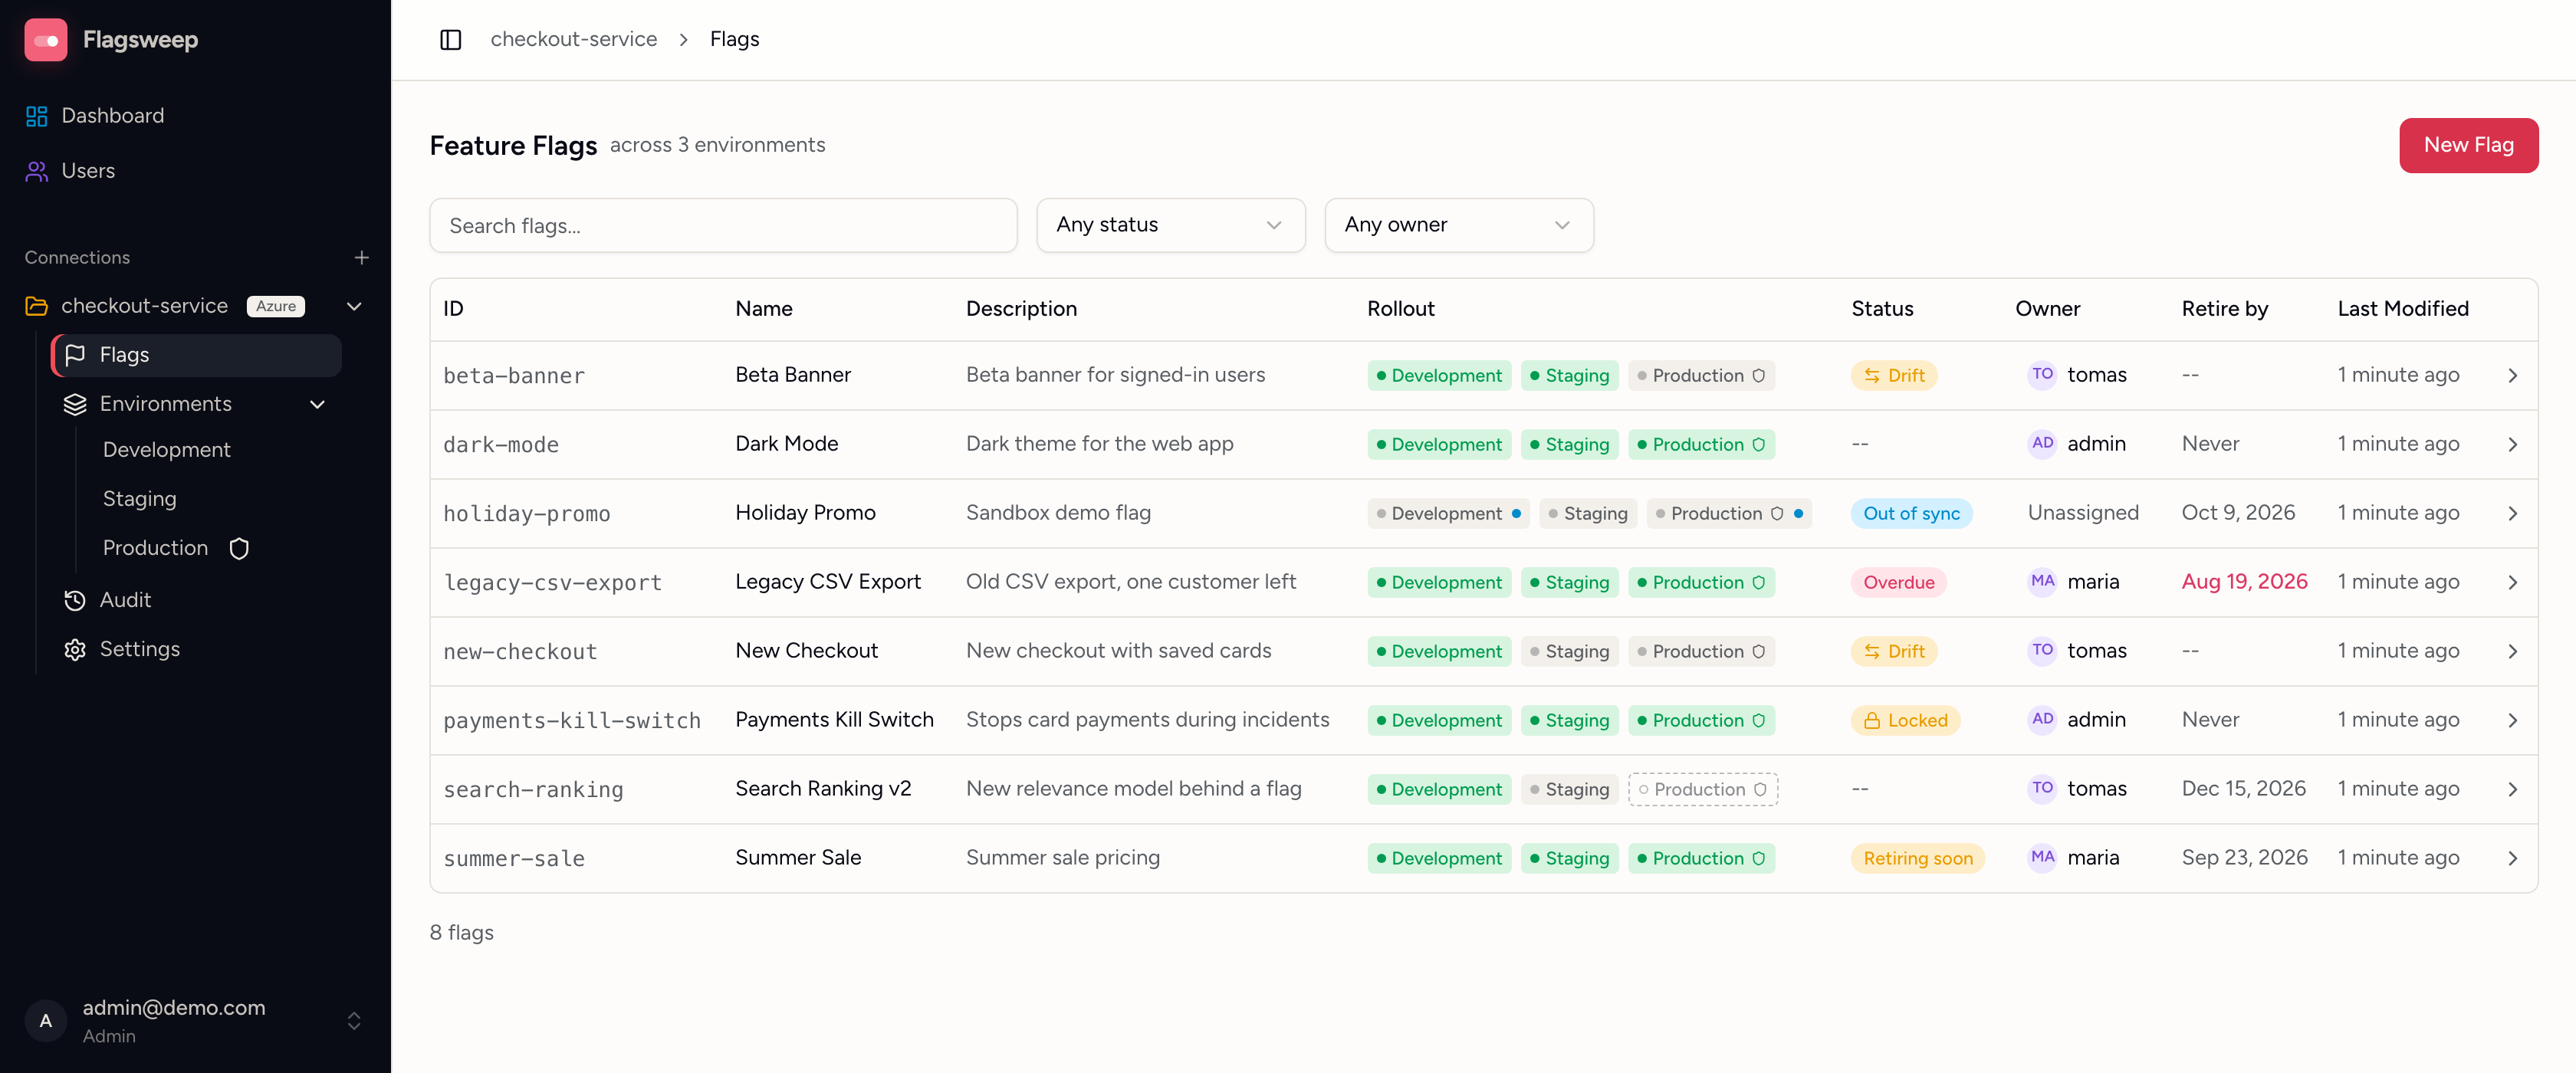
To add one:
- Click New Flag.
- Enter a Flag ID. Letters, digits, dots, hyphens, and underscores are allowed.
- Optionally set a name, description, and owner. A retire-by date 90 days out is filled in for you.
- Tick every environment the flag belongs in.
- Click Create Flag.
Flags are always created disabled, so enabling one is a separate, audited change. To turn a flag on or off in one environment, click that environment's chip and confirm; the change writes to Azure App Configuration immediately. Click the flag's name to open it and change several environments in one pass.
Each environment also has its own table, under Environments in the sidebar, which lists what is in that one environment:
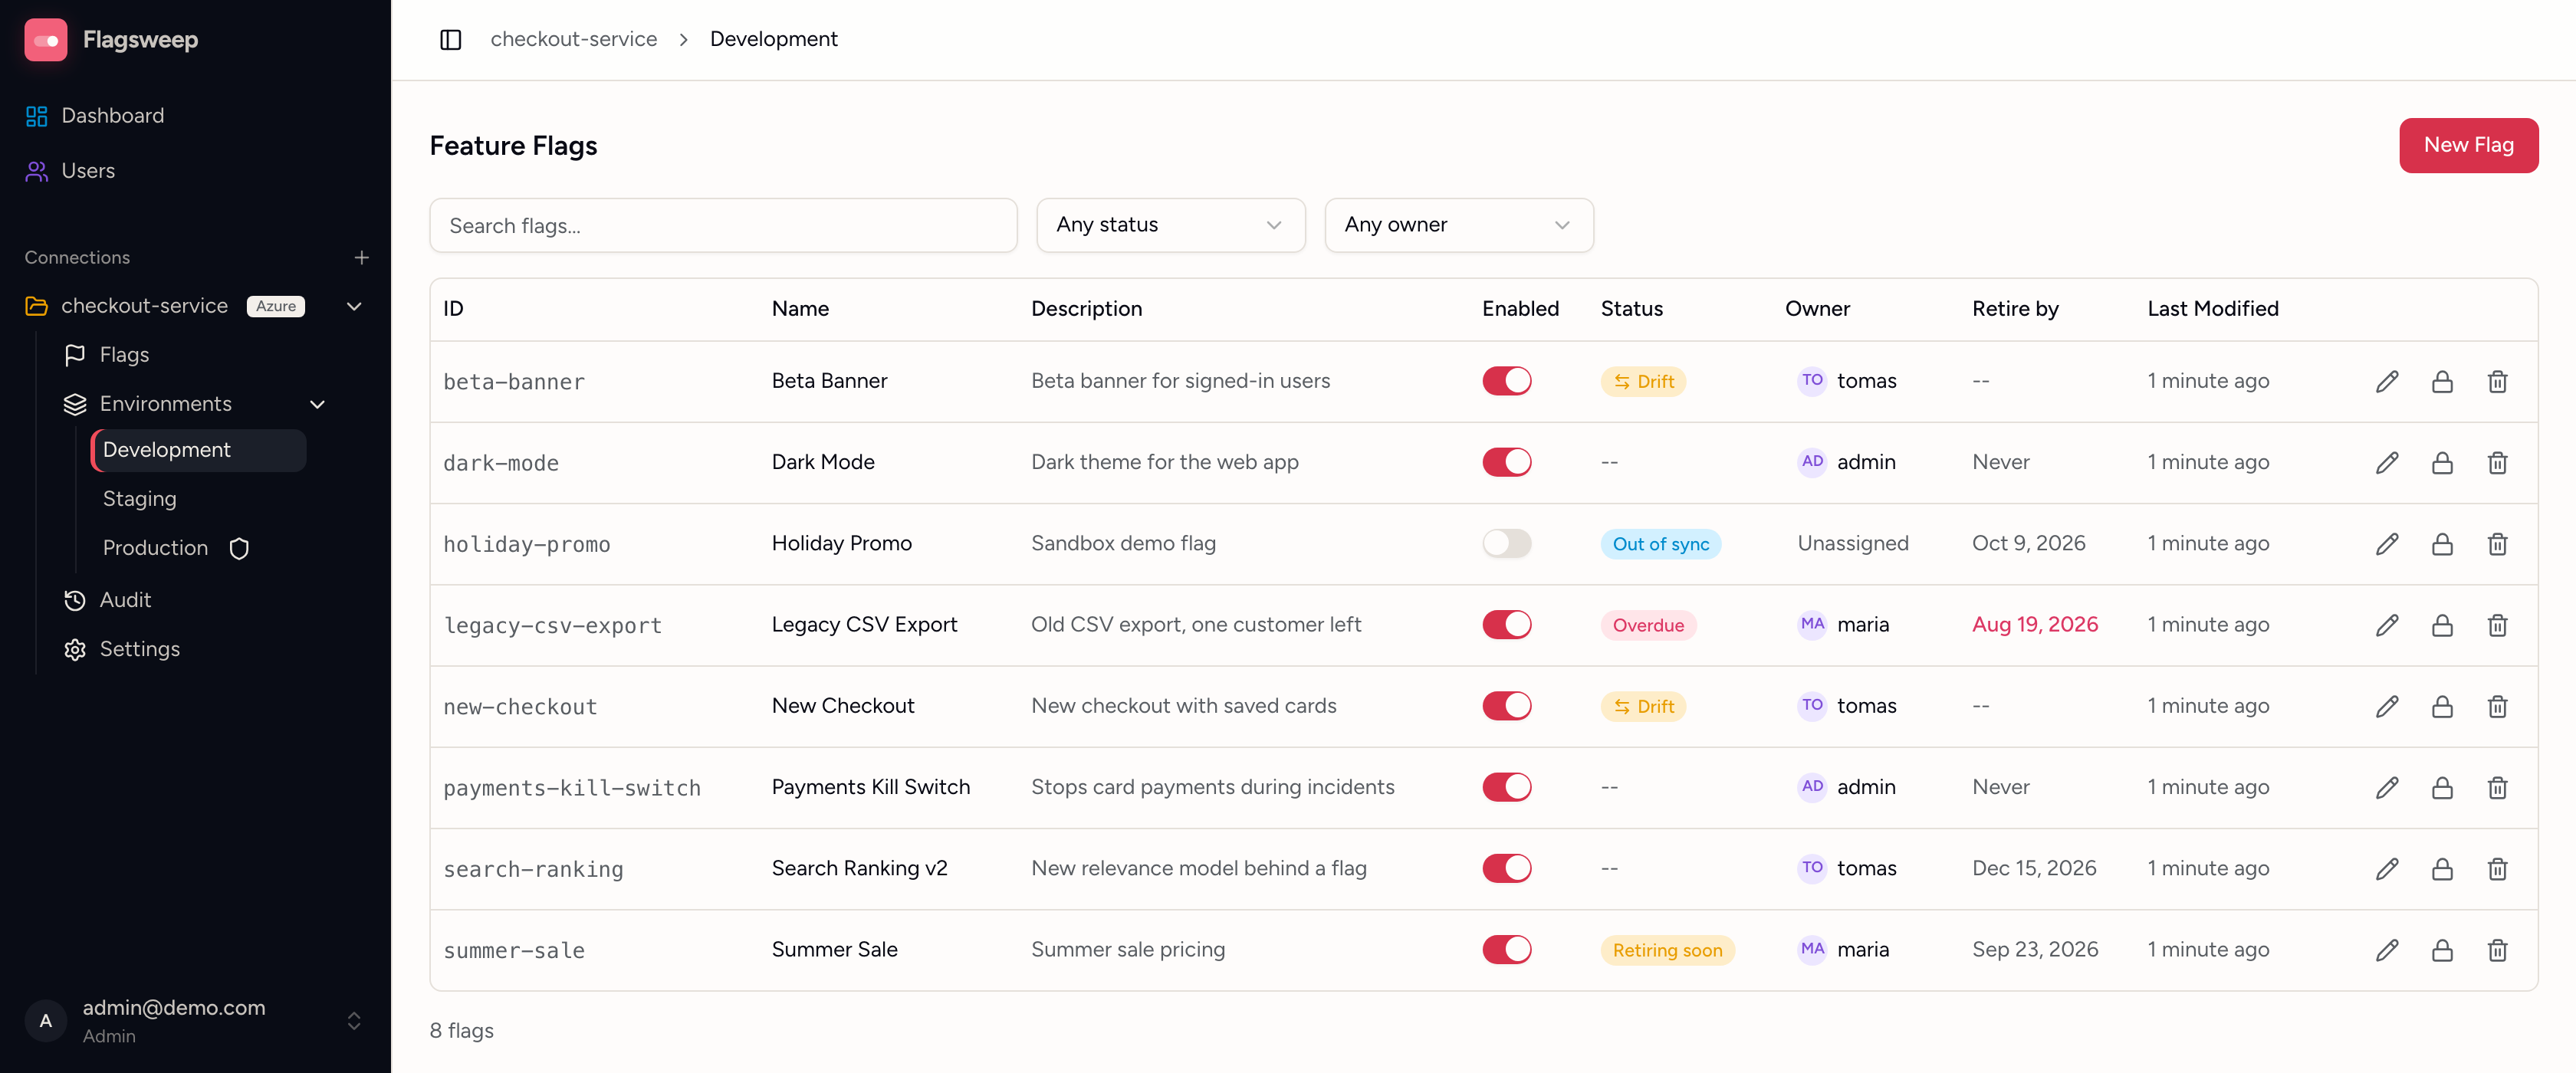
Flags across environments and Managing flags cover the rest.
4. Invite your team
- Click Users in the sidebar.
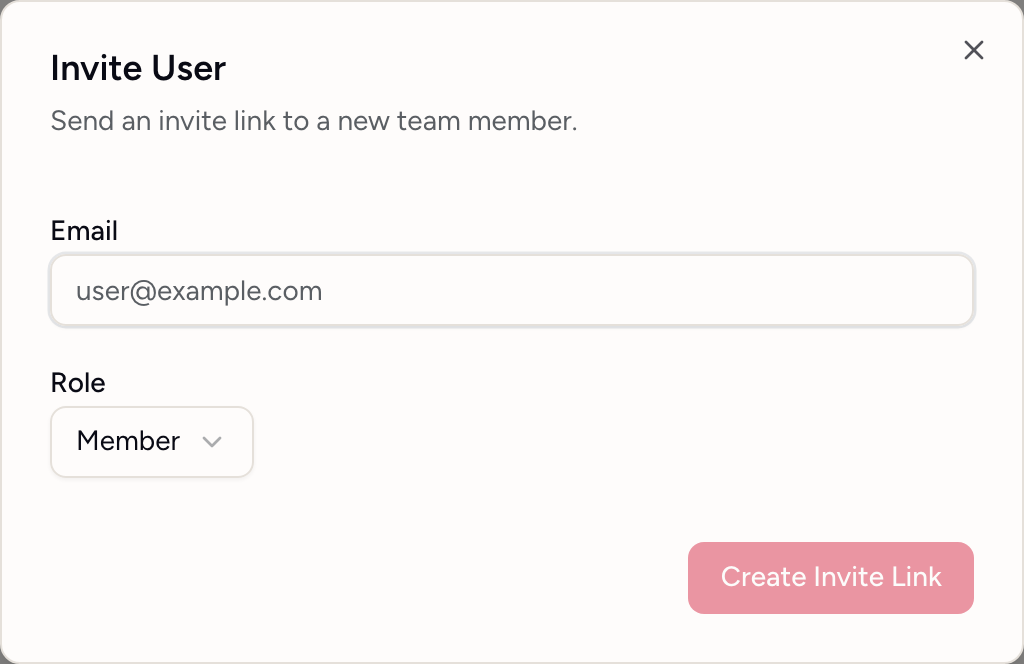
- Click Invite User, enter an email, choose Member or Admin, and click Create Invite Link.
- Copy the link and send it yourself. Flagsweep does not send email. Links expire after 7 days.
See Team and access for roles and account management.
Recommended next steps
- Protect production. In the connection's Settings, turn on Protected for your production environment so only admins can change flags there. See Locks and protected environments.
- Assign owners. Use the Owner column so every flag has someone accountable. Owners see their flags on the dashboard under My Flags.
- Watch the dashboard. It shows environments that disagree, flags approaching their retire-by date, and recent activity.